Welcome to Shafy School! 🎉 Today, we’re diving into the process of jailbreaking your Nintendo DSi using custom firmware (CFW). This comprehensive guide will provide you with step-by-step instructions, useful links, and additional resources to successfully jailbreak your DSi. Let’s get started! 🚀
Table of Contents
Introduction to Jailbreaking a DSi
Jailbreaking your Nintendo DSi allows you to unlock additional features, run homebrew applications, and customize your device beyond its default capabilities. By following this guide, you’ll be able to install custom firmware (CFW) and enjoy a wealth of new possibilities.

Requirements
- A compatible DSi model.
- A computer with internet access.
- A microSD card (preferably 2GB or larger).
- A microSD card reader.
- DSi Custom Firmware Tools
Supported DSi Models and Firmwares
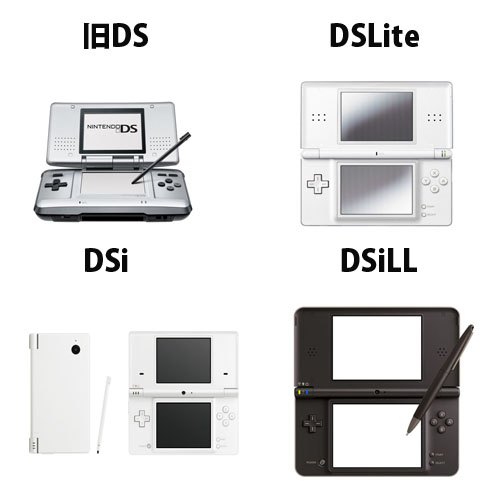
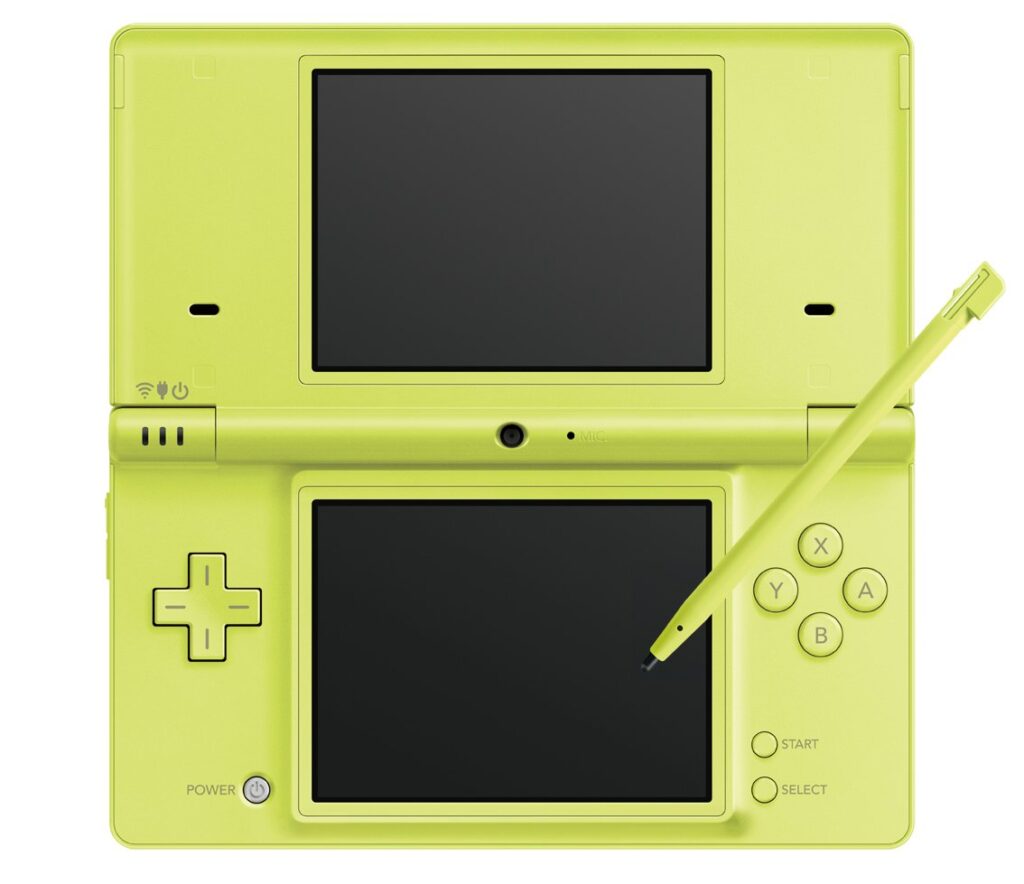
- DSi Models: All models of the Nintendo DSi and DSi XL are supported.
- Firmware Versions: Firmware versions 1.4.5 and below are supported.

Step-by-Step Guide to Installing CFW on DSi
Section I: Preparing Your DSi
- Backup Your Data: Before starting the jailbreak process, back up your data on the microSD card.
- Format the microSD Card: Format your microSD card to FAT32.
Section II: Installing Unlaunch
- Download Unlaunch Installer: Visit the Unlaunch Download Page and download the Unlaunch installer.
- Copy Files to microSD Card: Extract the downloaded files and copy them to the root of your microSD card.
- Insert microSD Card into DSi: Insert the microSD card into your DSi and turn it on.
- Launch Unlaunch Installer:
- Open the DSi Camera app.
- Navigate to the “SD card” and open the “Unlaunch.dsi” file.
- Follow the on-screen instructions to install Unlaunch.
Section III: Installing HiyaCFW
- Download HiyaCFW Helper: Download the HiyaCFW Helper from HiyaCFW Download Page.
- Run HiyaCFW Helper:
- Extract the HiyaCFW Helper files on your computer.
- Run the HiyaCFW Helper and follow the instructions to create the HiyaCFW files.
- Copy HiyaCFW Files to microSD Card: Copy the generated HiyaCFW files to the root of your microSD card.
- Boot HiyaCFW:
- Insert the microSD card into your DSi and power it on.
- Unlaunch should automatically boot into HiyaCFW.

Section IV: Setting Up TWiLight Menu++
- Download TWiLight Menu++: Visit the TWiLight Menu++ Download Page and download the latest version.
- Copy TWiLight Menu++ Files to microSD Card:
- Extract the TWiLight Menu++ files.
- Copy the “_nds” folder and “boot.nds” file to the root of your microSD card.
- Launch TWiLight Menu++:
- Boot your DSi and select TWiLight Menu++ from the HiyaCFW menu.
- Follow the on-screen instructions to complete the setup.
Downloading and Installing Games
- Download Game ROMs: Find and download DSi-compatible game ROMs from trusted sources.
- Transfer Game ROMs to microSD Card:
- Copy the downloaded ROMs to the “roms” folder on your microSD card.
- Launch Games:
- Open TWiLight Menu++ on your DSi.
- Navigate to the “roms” folder and select a game to play.
Setting Up GBA and R4 Cards
Section I: Configuring GBA Emulation
- Download GBARunner2: Visit the GBARunner2 GitHub Page and download the latest release.
- Copy GBARunner2 to microSD Card:
- Extract the files and copy the “GBARunner2.nds” file to the root of your microSD card.
- Transfer GBA ROMs to microSD Card:
- Create a folder named “GBA” on your microSD card.
- Copy your GBA ROMs into this folder.
- Launch GBARunner2:
- Open TWiLight Menu++ and select GBARunner2 from the homebrew menu.
- Navigate to the “GBA” folder and select a game to play.
Section II: Configuring R4 Card with Anton Retro
- Download R4 Firmware: Visit the Anton Retro Page and download the appropriate firmware for your R4 card.
- Copy Firmware to microSD Card:
- Extract the firmware files.
- Copy the extracted files to the root of your R4 card’s microSD card.
- Insert R4 Card into DSi:
- Insert the R4 card into your DSi and turn it on.
- Configure R4 Card:
- Follow the on-screen instructions to set up the R4 firmware.
Useful Links and Resources
- DSi Custom Firmware Tools
- Unlaunch Download Page
- HiyaCFW Download Page
- TWiLight Menu++ Download Page
- GBARunner2 GitHub Page
- Anton Retro Page
- Game ROMs Source
Internal Links to Shafy School
Don’t forget to check out more tech tips and app reviews on Shafy School:
Jailbreaking your DSi with CFW can unlock a world of possibilities, from running homebrew applications to playing game backups. By following this guide, you’ll be able to jailbreak your DSi with ease and enjoy its full potential. Happy gaming! 🎉


