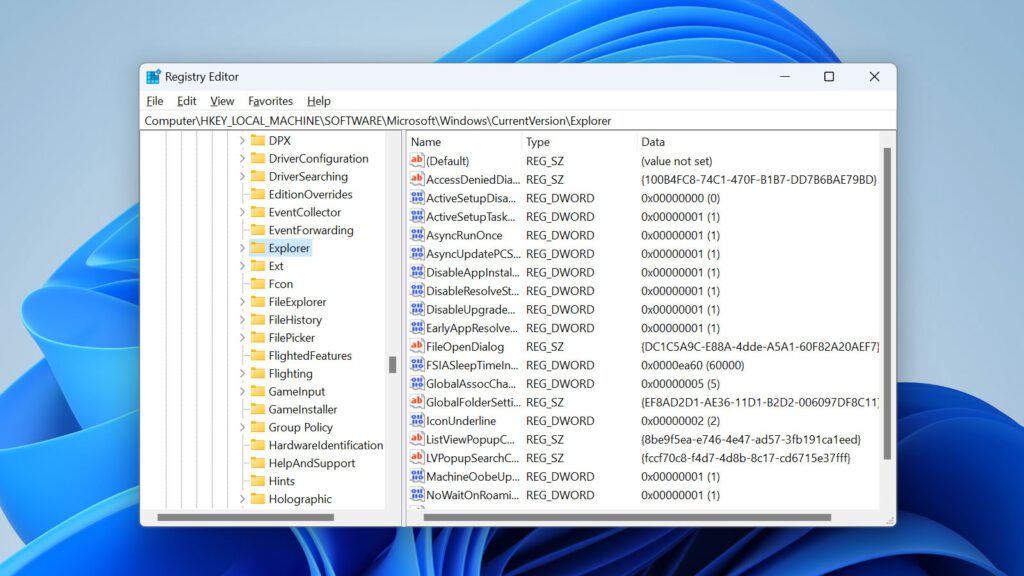
Welcome to Shafy School! 🎉 Today, we’re diving into the Registry Editor, an advanced tool that allows you to view and edit the Windows registry. Whether you’re looking to customize your system, troubleshoot issues, or enhance performance, understanding how to use the Registry Editor is essential. This comprehensive guide will walk you through everything you need to know. Let’s get started! 🚀
Table of Contents
Introduction to Registry Editor

The Registry Editor is a powerful tool in Windows that allows users to view, create, and modify the registry settings. The Windows registry is a database that stores low-level settings for the operating system and installed applications. By editing the registry, you can customize and optimize various aspects of your system.
Why Use Registry Editor
Registry Editor is useful for:
- Customizing System Settings: Tailor your Windows experience by changing settings that are not accessible through standard menus.
- Troubleshooting Issues: Resolve system errors and performance issues by editing the relevant registry entries.
- Enhancing Performance: Improve system speed and efficiency by tweaking registry settings.
- Configuring Applications: Modify application settings directly through their registry keys.
Accessing Registry Editor
To access the Registry Editor, follow these steps:
- Open Run Dialog: Press
Win + Rto open the Run dialog box. - Enter Command: Type
regeditand press Enter. - Confirm UAC Prompt: If prompted by User Account Control (UAC), click “Yes” to allow the Registry Editor to make changes to your device.
Understanding the Registry Structure
The registry is structured into a hierarchical tree, with the top-level branches known as “hives.” Each hive contains keys, subkeys, and values.
- HKEY_CLASSES_ROOT (HKCR): Contains file type associations and COM object settings.
- HKEY_CURRENT_USER (HKCU): Stores settings specific to the currently logged-in user.
- HKEY_LOCAL_MACHINE (HKLM): Contains settings common to all users on the computer.
- HKEY_USERS (HKU): Stores user-specific settings for all user profiles.
- HKEY_CURRENT_CONFIG (HKCC): Contains settings related to the current hardware configuration.
Basic Navigation in Registry Editor
Navigating the Registry Editor is similar to using File Explorer. Here’s how:
- Expand and Collapse Keys: Click the arrow next to a key to expand or collapse it.
- Select Keys and Values: Click on a key or value to select it.
- Search the Registry: Press
Ctrl + Fto open the search dialog, enter your search term, and press Enter.
Creating and Modifying Keys and Values
Creating and modifying registry keys and values allows you to customize system settings. Here’s how:
- Create a New Key:
- Right-click on the parent key where you want to create a new key.
- Select “New” > “Key.”
- Enter a name for the new key and press Enter.
- Create a New Value:
- Right-click on the key where you want to create a new value.
- Select “New” and choose the type of value you want to create (e.g., String Value, DWORD (32-bit) Value).
- Enter a name for the new value and press Enter.
- Modify an Existing Value:
- Double-click on the value you want to modify.
- Enter the new data in the Value data field and click “OK.”
Exporting and Importing Registry Keys
Exporting and importing registry keys is useful for backing up settings or applying them to multiple computers.
- Export a Registry Key:
- Select the key you want to export.
- Click “File” > “Export.”
- Choose a location, enter a file name, and click “Save.”
- Import a Registry Key:
- Click “File” > “Import.”
- Navigate to the location of the .reg file, select it, and click “Open.”
Backing Up and Restoring the Registry
Before making any changes, it’s crucial to back up the registry to avoid potential issues.
- Back Up the Entire Registry:
- Click “File” > “Export.”
- Select “All” under Export range.
- Choose a location, enter a file name, and click “Save.”
- Restore the Registry:
- Click “File” > “Import.”
- Navigate to the backup .reg file, select it, and click “Open.”
Common Registry Edits
Here are some common registry edits you might find useful:
- Change the Registered Owner:
- Navigate to
HKEY_LOCAL_MACHINE\SOFTWARE\Microsoft\Windows NT\CurrentVersion. - Modify the “RegisteredOwner” value.
- Navigate to
- Disable Windows Startup Sound:
- Navigate to
HKEY_CURRENT_USER\AppEvents\EventLabels\WindowsLogon. - Modify the “ExcludeFromCPL” value to 1.
- Navigate to
- Add “Open Command Window Here” to Context Menu:
- Navigate to
HKEY_CLASSES_ROOT\Directory\Background\shell. - Create a new key named “cmd” and set its default value to “Open Command Window Here.”
- Create a new key under “cmd” named “command” and set its default value to
cmd.exe /k cd %1.
- Navigate to
Tips for Using Registry Editor Safely
- Always Back Up: Before making any changes, back up the registry or the specific key you’re modifying.
- Be Cautious: Only modify registry settings if you understand their purpose and impact.
- Use Trusted Sources: Follow instructions from reputable sources to avoid harmful changes.
External Links and Resources
For more information and resources related to Registry Editor, check out the following links:
Internal Links to Shafy School
Don’t forget to check out more tech tips and app reviews on Shafy School:
The Registry Editor is a powerful tool that can significantly enhance your Windows experience when used correctly. By following this guide, you’ll be able to navigate, modify, and manage the registry with confidence. Happy customizing! 🎉


