Welcome to Shafy School! 🎉 Today, we’re exploring K-Lite Codecs, a comprehensive codec pack that enhances media playback on your PC. This guide will cover how to install K-Lite Codecs, the types of file extensions it supports, how to use its various features and options, and how to configure it for optimal performance. Whether you’re watching videos, listening to music, or working with media files, this guide has you covered. Let’s get started! 🚀
Table of Contents
Introduction to K-Lite Codecs
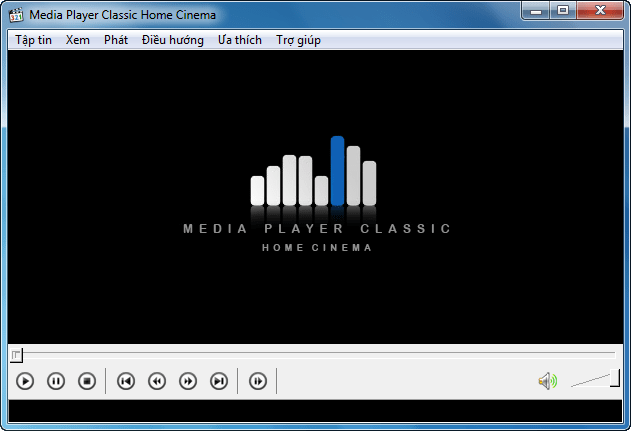
K-Lite Codecs is a popular codec pack for Windows that enables you to play a wide variety of audio and video formats. Developed by Codec Guide, this codec pack includes Media Player Classic and other essential tools to enhance your media playback experience.
Why K-Lite Codecs are Important
K-Lite Codecs are essential for anyone who consumes media on their PC. Without the right codecs, you may encounter issues like videos not playing correctly or audio files being unsupported. K-Lite Codecs ensure that you can play virtually any media file format, providing a seamless playback experience.

How to Install K-Lite Codecs
Installing K-Lite Codecs is a straightforward process, and you can do it in a couple of ways. Here’s how:
Installation Method 1: Direct Download
- Visit the Official Website: Go to the official K-Lite Codec Pack download page.
- Choose the Right Version: Select the version of K-Lite Codecs that suits your needs (Basic, Standard, Full, or Mega).
- Download the Installer: Click on the download link to get the installer.
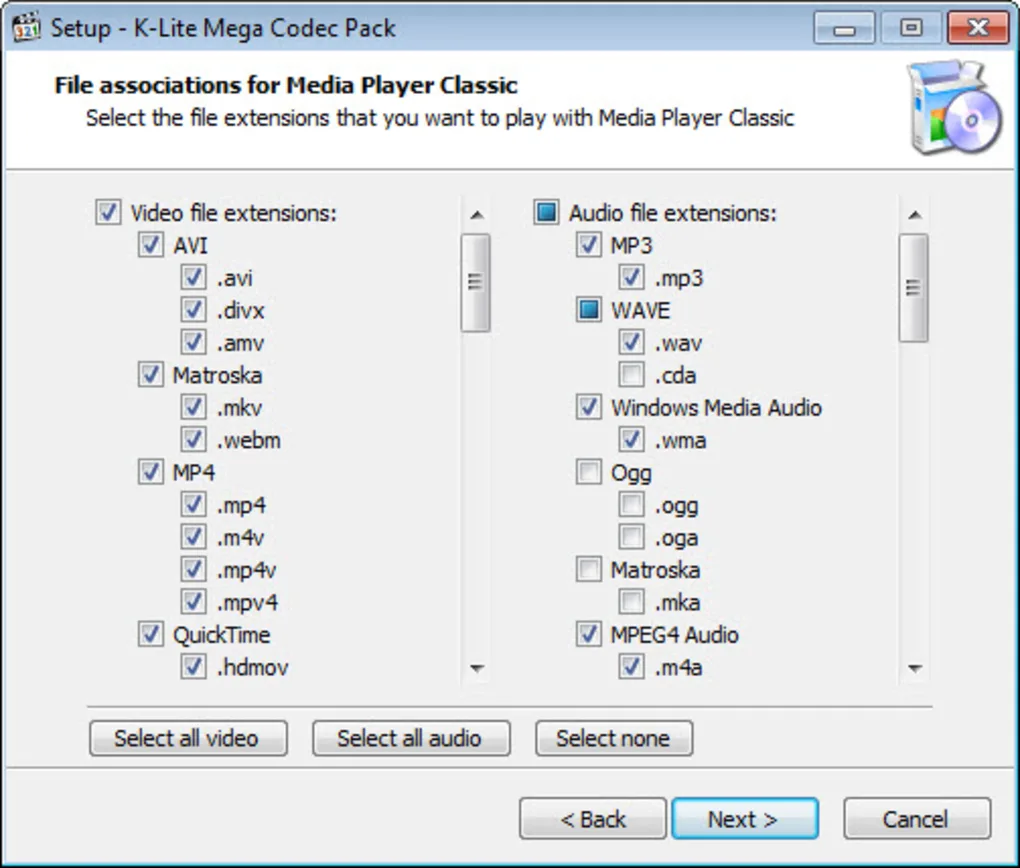
- Run the Installer: Open the installer file and follow the on-screen instructions to complete the installation.
- Launch Media Player Classic: After installation, launch Media Player Classic from your desktop or start menu to start using K-Lite Codecs.
Installation Method 2: Using a Package Manager
- Open Your Terminal or Command Prompt: Depending on your operating system, open the terminal or command prompt.
- Install K-Lite Codecs: Use the following commands based on your OS:
- Windows (Chocolatey):
choco install k-litecodecpackmega
- Windows (Chocolatey):
- Launch Media Player Classic: Once the installation is complete, you can launch Media Player Classic from your applications menu or directly from the terminal.
File Extensions Supported by K-Lite Codecs
K-Lite Codecs support a wide range of file extensions, including:
- Video Formats: .avi, .mp4, .mkv, .mov, .wmv, .flv, .mpeg, .ts, .m2ts, .webm
- Audio Formats: .mp3, .aac, .ogg, .flac, .wav, .m4a, .ac3, .dts
- Subtitles: .srt, .sub, .ssa, .ass

Using K-Lite Codecs: Features and Options
K-Lite Codecs offer numerous features and options to enhance your media playback experience. Here’s a detailed look at some of the key options available:
Media Player Classic
- Play Any Format: Media Player Classic can play virtually any audio or video format.
- Customizable Interface: Customize the interface to suit your preferences.
- Advanced Playback Options: Adjust playback speed, use shaders, and apply video filters.
Codec Tweak Tool
- Manage Codecs: Enable, disable, or remove specific codecs to optimize your system.
- Repair Tools: Use repair tools to fix common playback issues and reset codec settings.
Media Info Lite
- File Information: View detailed information about media files, including codecs used, bit rate, resolution, and more.
- Batch Analysis: Analyze multiple files at once to get comprehensive media information.
Use Cases for K-Lite Codecs
K-Lite Codecs can be used in various scenarios, including:
- Home Entertainment: Enjoy a seamless playback experience for all your media files on your home PC.
- Professional Use: Ensure compatibility and playback of various media formats for professional projects.
- Content Creation: Use K-Lite Codecs to test and ensure that your media files are compatible with different players and systems.
Enhancing Your Experience with K-Lite Codecs
To make the most out of K-Lite Codecs, consider the following tips:
- Update Regularly: Keep K-Lite Codecs updated to benefit from the latest improvements and new codec support.
- Customize Settings: Explore the settings in Media Player Classic and Codec Tweak Tool to optimize your playback experience.
- Use External Filters: Enhance media playback by configuring external filters and plugins.
Configuring K-Lite Codecs for Optimal Performance
To ensure K-Lite Codecs run smoothly and efficiently, follow these configuration tips:
- Adjust Codec Settings: Use the Codec Tweak Tool to enable or disable specific codecs based on your needs.
- Optimize Video Output: Configure the video output settings in Media Player Classic for the best visual quality.
- Manage Performance: Adjust performance settings to ensure smooth playback on lower-end systems.
Support Utilities and Additional Tools
K-Lite Codecs can be complemented with various support utilities to enhance your media playback experience:
- Video Editors: Use editors like Adobe Premiere Pro or DaVinci Resolve to edit and export compatible media files.
- Subtitle Editors: Tools like Subtitle Edit can help you create and sync subtitles for your videos.
- Compression Tools: Use tools like HandBrake to compress and convert media files to supported formats.

External Links and Resources
For more information and resources related to K-Lite Codecs, check out the following links:
Internal Links to Shafy School
Don’t forget to check out more tech tips and app reviews on Shafy School:
K-Lite Codecs is an incredibly powerful and versatile tool that can significantly improve your media playback experience. By following this guide, you’ll be able to install, configure, and use K-Lite Codecs to its full potential. Enjoy your media! 🎉


