Table of Contents
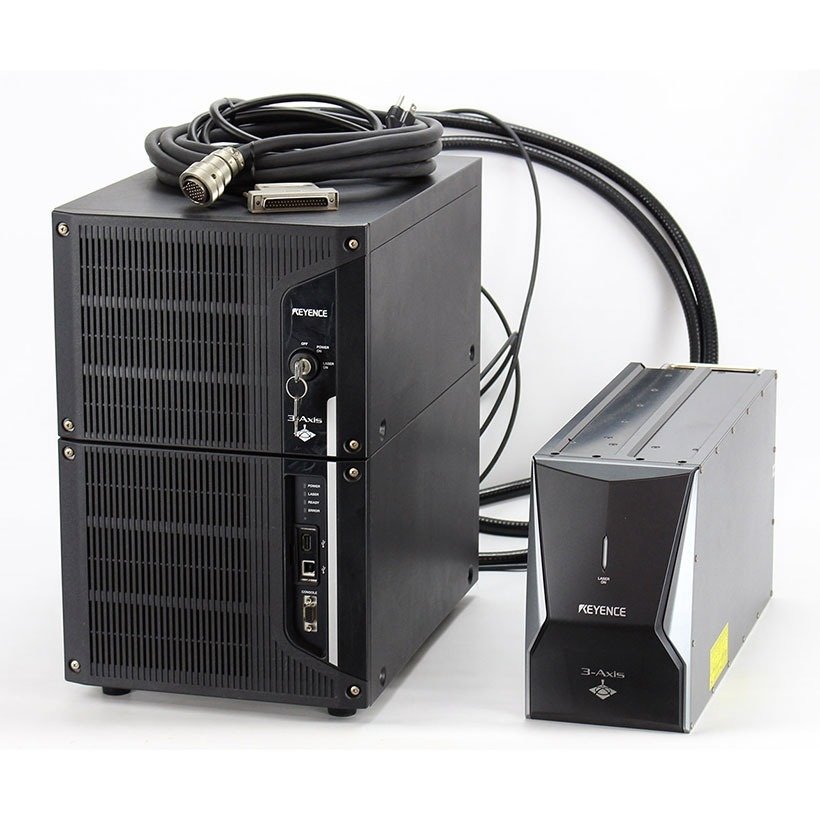
Introduction to the Keyence MD-X2520
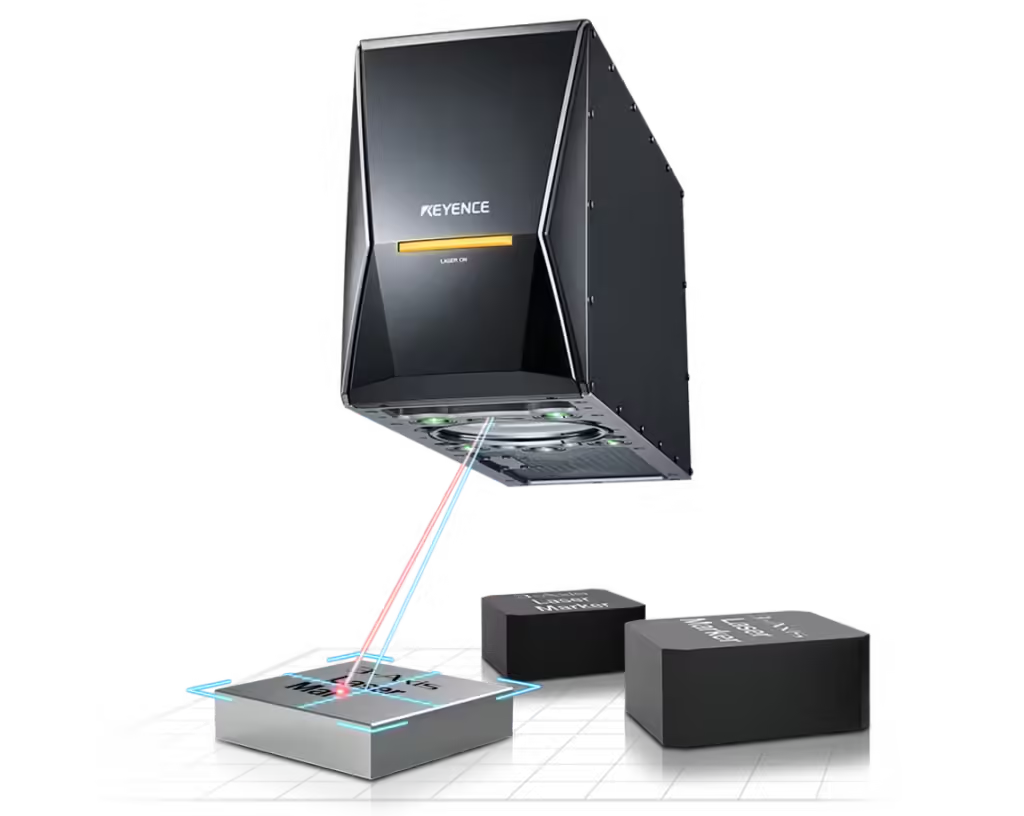
The Keyence MD-X2520 is a cutting-edge hybrid laser marking machine that combines fiber and YVO4 laser technologies. This powerful machine is capable of handling a wide variety of marking tasks, including engraving and etching on materials like metals, plastics, ceramics, and more. It offers flexibility, precision, and speed, making it a popular choice in industries such as automotive, electronics, medical devices, and consumer goods for marking barcodes, QR codes, serial numbers, logos, and other identification marks.
The MD-X2520 uses Marking Builder 3 (MB3) software, which is a comprehensive tool for designing, setting up, and controlling laser marking projects. This guide provides a detailed explanation of the machine’s specifications, laser power adjustments in percentage, and a step-by-step tutorial on how to use the software, complete with an example.

Specifications of the Keyence MD-X2520
- Model Number: MD-X2520
- Laser Type: Hybrid fiber/YVO4
- Wavelength: 1064 nm
- Average Output Power: 25W (adjustable in percentage)
- Marking Field: 120 mm × 120 mm
- Marking Speed: Up to 12,000 mm/s
- Minimum Line Width: 0.01 mm
- Supported Materials: Metals, plastics, ceramics, coated surfaces
- Focus Control: Autofocus system for optimal distance adjustment
- Cooling System: Air cooling (no external chiller required)
- Power Supply: 100-240V AC
- Software: Marking Builder 3 (MB3), Windows-compatible
- Compliance: CE, FCC, RoHS
Key Features of the MD-X2520
- Hybrid Laser Technology: Combining fiber and YVO4 lasers enables the MD-X2520 to mark a wide range of materials, providing versatility for deep engraving and fine surface marking.
- High-Speed Marking: Capable of marking at up to 12,000 mm/s, the MD-X2520 is designed for high-throughput applications while maintaining precision.
- Autofocus Capability: The autofocus feature adjusts the laser’s focal point automatically, ensuring accurate marking without manual adjustments, even on uneven surfaces.
- Traceability Marking: It supports 2D codes (e.g., QR codes), barcodes, and serial number marking for product identification and traceability.
- Durable and Reliable: The air-cooled design ensures the machine runs smoothly, while its robust build is suited for demanding industrial environments.

Step-by-Step Guide to Using Marking Builder 3 Software with the MD-X2520
Marking Builder 3 (MB3) is the software provided with the MD-X2520, enabling users to design and configure their laser marking projects. Here’s a complete guide to using the software, including how to adjust the laser power in percentage, along with other critical settings.
1. Installation of Marking Builder 3
- Install the Software: Download and install Marking Builder 3 from the Keyence website or the provided media (CD/USB).
- Connect the Machine: Ensure the MD-X2520 is properly connected to your PC via USB or Ethernet.
- Launch the Software: Once installed, launch Marking Builder 3. The interface includes design tools, parameter settings, and controls for the laser machine.
2. Creating a New Marking Project
- Start a New Project: Open File > New Project to create a new design file.
- Set the Workpiece Size: Define the dimensions of your workpiece (e.g., 100 mm × 100 mm for a metal plate).
- Marking Field: Select the correct marking field size based on the workpiece you are working with.
3. Designing the Mark
- Add Text: Use the Text Tool to enter text, such as a serial number or part name. Adjust the font, size, and position on the workpiece.
- Add a QR Code: For traceability marking, click Insert Code and select QR Code. Input the data for the code (e.g., product serial number) and position it on the workspace.
- Insert a Logo: Click Insert Image and select an image file (e.g., a company logo). Adjust its size and location within the marking area.
4. Adjusting Laser Parameters Based on Material
The key parameters are laser power (in percentage), marking speed, and pulse frequency. The default values provided by Marking Builder 3 depend on the material being marked. Let’s go over the default values for various materials and how to adjust them for different results:

Default Values and Adjustments by Material Type
1. Stainless Steel
- Default Power: 80% (of 25W = 20W)
- Marking Speed: 5000 mm/s
- Pulse Frequency: 30 kHz
- Marking Depth: ~0.02 mm
Adjustments:
- For deeper marks, increase power to 90-100% and reduce speed to 3000 mm/s for deeper engravings (~0.05 mm).
- For lighter marks, reduce power to 60-70% and increase speed to 6000-7000 mm/s for surface etching.
2. Aluminum
- Default Power: 60% (of 25W = 15W)
- Marking Speed: 6000 mm/s
- Pulse Frequency: 20 kHz
- Marking Depth: ~0.03 mm
Adjustments:
- For deep engraving, increase power to 80-90% and reduce speed to 4000 mm/s.
- For light surface marking, reduce power to 50% and increase speed to 8000 mm/s.
3. Plastics (ABS, Polycarbonate)
- Default Power: 40% (of 25W = 10W)
- Marking Speed: 8000 mm/s
- Pulse Frequency: 50 kHz
- Marking Depth: ~0.01 mm
Adjustments:
- For deeper engraving, increase power to 45-50% and reduce speed to 6000 mm/s.
- For surface marking, reduce power to 30-35% and increase speed to 10,000 mm/s.
4. Brass and Copper
- Default Power: 88% (of 25W = 22W)
- Marking Speed: 4500 mm/s
- Pulse Frequency: 25 kHz
- Marking Depth: ~0.03 mm
Adjustments:
- For deep engraving, set power to 100% and reduce speed to 3500 mm/s.
- For lighter surface marking, reduce power to 70% and increase speed to 6000 mm/s.
5. Ceramic
- Default Power: 72% (of 25W = 18W)
- Marking Speed: 3000 mm/s
- Pulse Frequency: 15 kHz
- Marking Depth: ~0.02 mm
Adjustments:
- For deep marks, increase power to 80% and reduce speed to 2500 mm/s.
- For surface etching, reduce power to 60% and increase speed to 4000 mm/s.
6. Glass
- Default Power: 48% (of 25W = 12W)
- Marking Speed: 5000 mm/s
- Pulse Frequency: 10 kHz
- Marking Depth: ~0.005 mm
Adjustments:
- For deep etching, increase power to 55-60% and reduce speed to 4000 mm/s.
- For light surface etching, reduce power to 40% and increase speed to 6000 mm/s.
5. Simulating the Marking
- Preview the Marking: Use the Preview feature in Marking Builder 3 to see how the design will look on the workpiece.
- Simulate Marking: Run a simulation to calculate the marking time and check the sequence. Ensure that the text, code, or logo is properly positioned and scaled.
6. Sending the Design to the MD-X2520
- Transfer the Design: Click Send to Device to upload the marking project to the MD-X2520.
- Position the Workpiece: Place the workpiece (e.g., stainless steel plate) under the laser head, ensuring it aligns with the design preview.
7. Starting the Marking Process
- Start Marking: Once everything is in place, press Start in the software or on the control unit to begin the marking.
- Monitor Progress: You can watch the progress in Marking Builder 3, which will show the remaining time and marking sequence.
8. Inspecting and Adjusting the Mark
- Inspect the Result: Once marking is complete, inspect the workpiece for accuracy and depth.
- Adjust Parameters if Necessary: If the mark is too light or too deep, adjust the laser power percentage, marking speed, or pulse frequency, and repeat the process.
Example Project: Marking a QR Code on Stainless Steel
Scenario: You need to mark a QR code and a serial number (“SN123456789”) on a stainless steel plate.
Steps:
- Create the Design: In Marking Builder 3, start a new project. Insert the text “SN123456789” and a QR code for a URL (e.g., “https://example.com”).
- Set Parameters:
- Power: 80% (default for stainless steel).
- Speed: 5000 mm/s.
- Frequency: 30 kHz.
- Simulate and Preview: Run a simulation to verify the layout and adjust if necessary.
- Perform the Marking: Place the stainless steel plate on the platform, align the design, and start the marking process.
- Inspect and Adjust: After marking, check the depth and clarity of the mark. If deeper engraving is required, increase the power to 90% and reduce the speed to 4000 mm/s.
Conclusion
| Material | Laser Power (%) | Marking Speed (mm/s) | Pulse Frequency (kHz) | Marking Depth (mm) |
|---|---|---|---|---|
| Stainless Steel | 80% | 5000 | 30 | ~0.02 |
| Aluminum | 60% | 6000 | 20 | ~0.03 |
| Plastics (ABS, Polycarbonate) | 40% | 8000 | 50 | ~0.01 |
| Brass and Copper | 88% | 4500 | 25 | ~0.03 |
| Ceramic | 72% | 3000 | 15 | ~0.02 |
| Glass | 48% | 5000 | 10 | ~0.005 |
Adjustments for Each Material:
- Stainless Steel:
- Deeper Marks: Increase power to 90-100%, reduce speed to 3000 mm/s for deeper engravings (~0.05 mm).
- Surface Marks: Reduce power to 60-70%, increase speed to 6000-7000 mm/s for light surface etching.
- Aluminum:
- Deeper Marks: Increase power to 80-90%, reduce speed to 4000 mm/s for ~0.05 mm depth.
- Light Marks: Reduce power to 50%, increase speed to 8000 mm/s for faster, lighter marks.
- Plastics:
- Deeper Marks: Increase power to 45-50%, reduce speed to 6000 mm/s.
- Surface Marks: Reduce power to 30-35%, increase speed to 10,000 mm/s.
- Brass and Copper:
- Deeper Marks: Increase power to 100%, reduce speed to 3500 mm/s for deeper marks (~0.06 mm).
- Surface Marks: Reduce power to 70%, increase speed to 5500-6000 mm/s.
- Ceramic:
- Deeper Marks: Increase power to 80%, reduce speed to 2500 mm/s.
- Surface Marks: Reduce power to 60-65%, increase speed to 4000 mm/s.
- Glass:
- Deeper Etching: Increase power to 55-60%, reduce speed to 4000 mm/s.
- Surface Etching: Reduce power to 40-45%, increase speed to 6000 mm/s.
The Keyence MD-X2520 is a versatile and powerful laser marking machine, capable of handling a wide range of materials. By using Marking Builder 3, you can easily control the laser power in percentage, marking speed, and pulse frequency to create precise, high-quality marks for different applications. Whether you’re marking metal, plastic, or ceramic, adjusting these parameters will allow you to achieve the perfect results for your specific needs.


